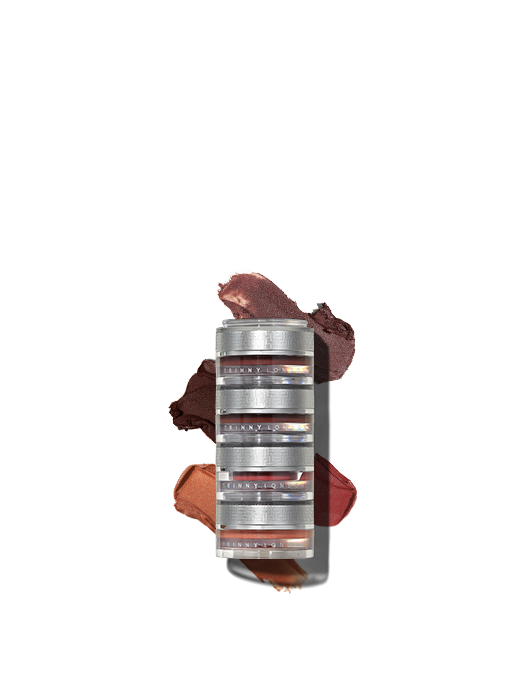

Smoky Eye
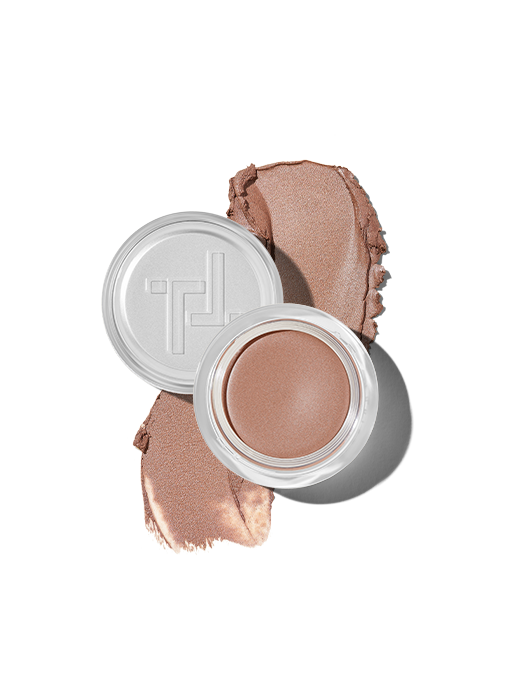
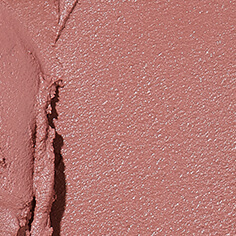
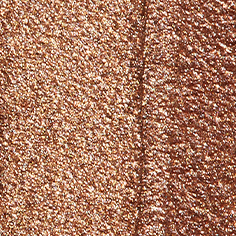
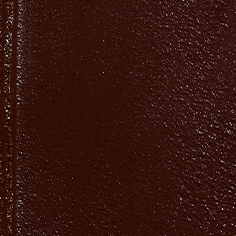
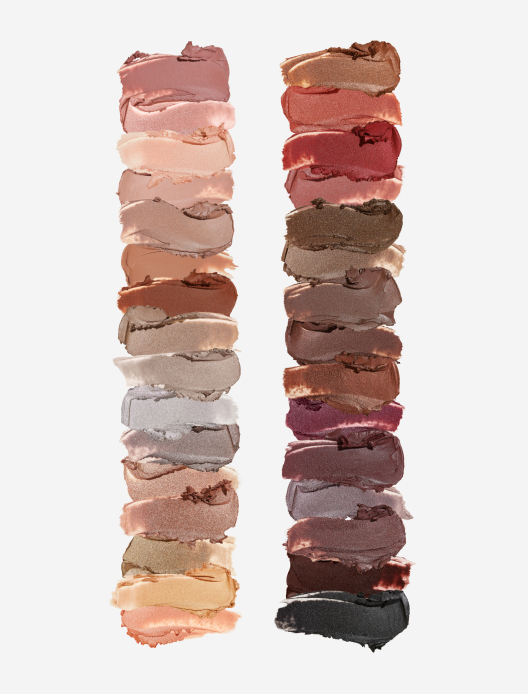
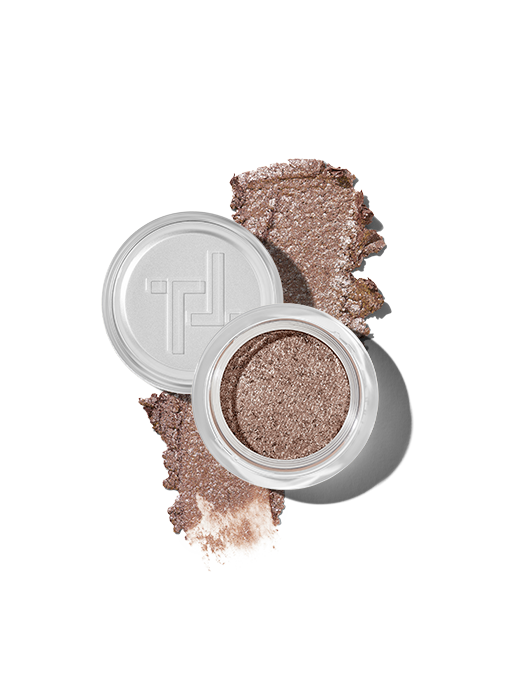
Lip2Cheek, Sheer Shimmer and two shades of Eye2Eye. For an effortless smoky eye.
Choose 3 free samples with every order

Doubting your skills? Not convinced you could apply, or pull off, a smoky eye? Allow us to convince you otherwise. All you need is a can-do attitude and five minutes to spare.
Smoky eye makeup has an unfair reputation for being tricky and difficult to master. But, really, learning how to do a smoky eye is far easier than you might think. It’s just about intensifying your eye makeup to achieve a bolder look.
“A smoky eye for me is a dramatic eye,” says Katie Levy, Pro Makeup Artist at Trinny London. “It depends on the individual and the look you’re going for, but typically I associate them with going out and making more of a big deal out of your makeup.” That’s not to say you can’t wear a smoky eye for daytime too – it’s all down to personal style and preference.
So what sets a smoky eye apart from your average eyeshadow look? “A smoky eye uses two or three eyeshadow colours, that span from light to dark, to create a smoke effect on the lid,” explains Katie. The colours should all be complementary, and in the same shade family, but increasing in depth. So, for example, you might use a pale grey, a steel grey and a charcoal grey together. You could also use a shimmering, metallic shade as a topper.
The key to a smoky eye is really in the application. Each shade will be placed in a different section of the lid or crease, creating dimension and making your eyes the focal point of your face. Depending on your desired look, a smoky eye can be as polished and precise or as smudgy and sexy as you’d like. Brushes are best for the first option, and fingers are best for the second. “It’s all about blending with a smoky eye,” adds Katie. “It should be very soft with no bold lines.”
The look might be referred to as a smoky eye, but that doesn’t mean you’re limited to a sultry palette of greys and blacks. The concept can apply to any colour, as long as you're using shades in the same hue in a range of lighter and darker tones. “A smoky eye doesn’t have to be dark, it just depends on the kind of look you want,” says Katie Levy. “You can definitely do a light smoky eye – as long as the tones all work together. Just make sure there’s a big enough contrast between the shades, because you’re not going to get the smoky effect unless they’re quite different. The darker the shadow, the more your eye colour is going to pop.”
If you want to really make your eye colour stand out, choose shadows in shades that sit on the opposite side of the colour wheel. That means red and orange-tinged shades for blue eyes, neutral browns and peaches for grey eyes and purples like maroon and amethyst for green eyes. Brown, gold and green shades will enhance the different dimensions of hazel eyes, while brown eyes look gorgeous against blue-toned shadows.
The base shade will span over your eyelid and form the base of your smoky eye. It should be the lightest of the two or three shades you’re using, and be in the same hue as them. It can be either matte or shimmery in finish, depending on your preference.
The smoke shades will be blended upwards and outwards along the crease in order to give the look its definition and depth. You could also take it along the top or bottom lash line for extra intensity. They need to be deeper than your base shade, and if you’re using more than one, then one needs to be comparatively darker than the other. Again, they can be matte or shimmery...
This part of your routine is optional, as it is possible to create a smoky eye just using your fingers. Using a brush will allow you more precision (especially if you wanted to use a tapered brush to create a liner effect) as well as prevent you from going in too heavy handed. A nice application approach is to place and pat the product onto your eyes with your fingers, before blending and buffing with a fluffy shadow brush.
“If you've never done a smoky eye before, start with a cream,” advises Katie. “It’s so easy to blend that you really can’t go wrong with it, and if you do make a mistake then it’s really easy to clean up.” To backtrack over a mishap, use a clean finger or clean brush to buff over the area. You could also use a little of your foundation or concealer to soften any areas or help neaten up the edges.
Unlike powders, which can be tricky to combine and layer, the soft texture of cream eyeshadow means they blend into each other beautifully. This makes it virtually impossible to detect when one colour ends and another begins, meaning no harsh lines or angles. Cream shadows can be easily applied with your fingers too, helping you to achieve that slightly smudged, lived-in look that gives smoky eyes their edge.
For this smoky eye tutorial, you will need three shades. One for base, a darker shade for the smoke and a shimmering shade to act as a light-reflecting topper. You can apply with just your fingers, but it would be helpful to have a small fluffy eyeshadow brush and a liner brush to hand too. In the case of how to apply eyeshadow to hooded eyes, the same rules apply, just focus more on the edges than the lid.
Apply your first shade as a wash of colour across the lid using either a fluffy brush or your fingers. Focus the majority of the colour intensity towards the inner corner, blending softly outwards.
With either an eyeshadow brush or your fingers, take the second shade across the crease and in a “v” shape at the outer edges of the eye. If you want to take the smoke further, you can also use a flat or tapered brush to line the lower and upper lash line. Keep in mind that the beauty of smoky eyes is that they don’t have to be perfect.
Pat the third, shimmering shade onto the centre of the lid. Then, using a narrow liner brush apply to the inner corners of the eyes to really catch the light.


Lip2Cheek, Sheer Shimmer and two shades of Eye2Eye. For an effortless smoky eye.
